You saw in my post last week that my shiny new breadmaker arrived — one of the many generous prizes from the GF cookie contest. (you’ll also notice an increase in workout photos over on Instagram — this is a direct correlation to getting a breadmaker!) 😉

I’m still learning the ins and outs of the machine, so there will be plenty more to come about making pizza crusts, rolls, even jam perhaps.
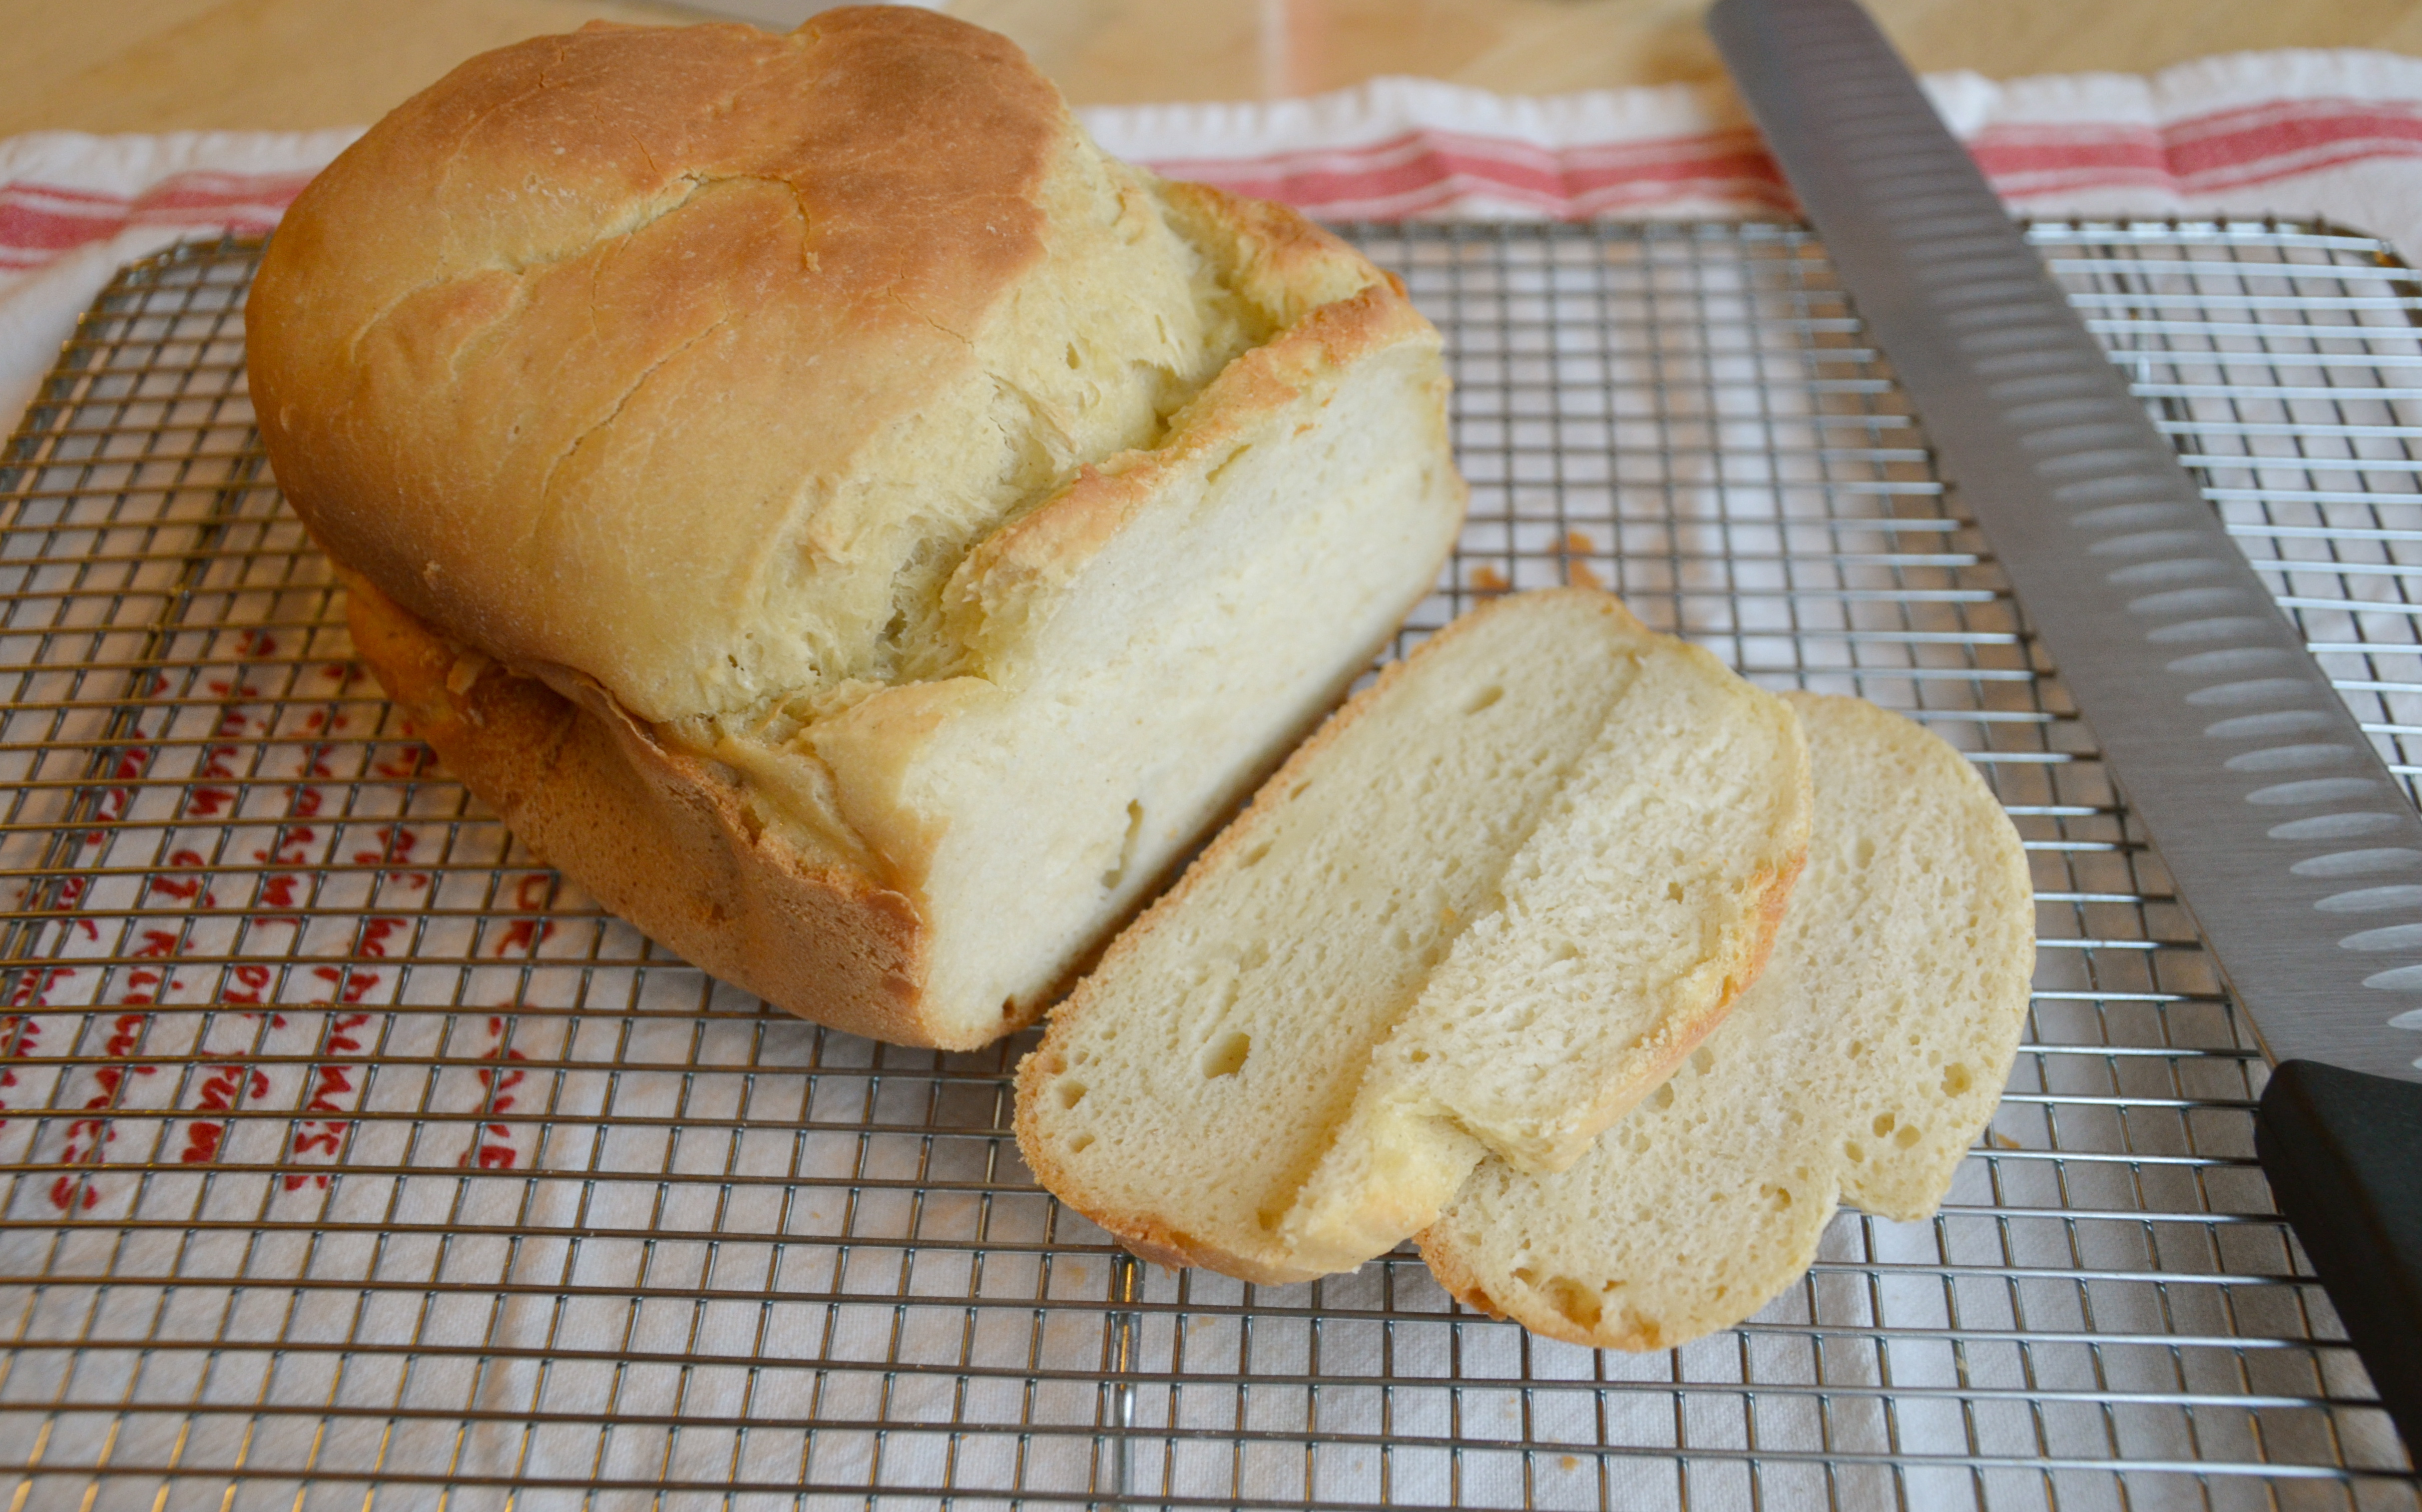
But for now, I thought a warm loaf of bread would be a way to end this week with a bang, and begin a weekend of family fun, food, and celebration.
Breadmaker Bread
adapted from Gluten Free Girl’s Crusty Boule recipe
3 ¼cups gluten-free flour mix*
1 tablespoon active dry yeast
1 ½ teaspoons kosher salt
1 tablespoon guar gum**
1 ⅓ cups warm water
2 large eggs, room temp — place them in a bowl of warm water to speed up the process
2 tablespoons + 2 teaspoons oil of choice (I used olive oil)
1 tablespoon honey
* I have used a variety of options successfully: brown rice, sorghum & tapioca starch, also a homemade all-purpose mix that included the last bits of pretty much every flour I had in the cupboard with some Cup4Cup, and today’s multigrain loaf was King Arthur Flour’s whole grain flour mix with extra tapioca flour. If you use a mix that already includes gums, do not add additional to the dough, it can become, well, gummy as a final product. (UPDATE: the King Arthur Flour mix contained quinoa flour which I feel gives the bread a bitter taste, I want to like quinoa flour, I really do, but can’t seem to get past the taste.)
**instead of using xanthan or guar gum, you can also substitute 1 tablespoon of ground flax meal, combined with 2 tablespoons of boiling water, add this to the wet ingredients.
Directions
1. In a large bowl combine all of the dry ingredients, except the yeast — whisk together the flours, salt, and guar gum (or flax) and set the yeast to the side.
2. In a medium bowl, throughly whisk together the water, eggs, oil, and honey. (if you used the flax method, add that to the wet ingredients now.)
3. Pour the wet ingredients into the breadmaker. Don’t forget to put the little stirring blade in first, I learned this the hard way. 😉
4. Carefully add the dry ingredients on top of the wet ingredients in the machine — you can easily do this by using a ¼ cup measuring scoop and gently scooping the dry ingredients in, creating a layer on top of the wet ingredients. Then, top the layer with the yeast.
5. Set your bread machine to the gluten-free setting (2lb loaf) and get yourself a rubber scraper. While the machine begins the mixing cycle, scrape down the sides of the pan, making sure all of the loose flour is incorporated into the dough. (skipping this step will often leave flour on top or the sides of the loaf, a common complaint of breadmaker newbies)
6. Let the magic happen. Your home will smell like fresh baked bread in no time. It will seem very gourmet. You may never want to purchase overpriced GF bread at the store again. All of this is good. Very good. 🙂
7. When the baking cycle is complete, REMOVE THE BREAD! Although there is a warming period at the end to keep things nice and toasty, I feel that this steams the bread too much, so I remove it right away and get it onto a cooling rack.
8. If you are like me and want a nice crusty top to the bread, you’ll need to follow this additional step, the breadmaker won’t give you a browned top like baking it in the oven would. But it’s EASY to do — just rub a little butter on top, (it will be simple to melt since the bread is still hot) wrap the sides (but leave the top open) with foil, and put under the broiler for a few minutes. CLICK HERE to see my demo of this step.
9. Let the bread cool completely (if you can!) before cutting and serving. Enjoy every bite.
Notes from Sarah:
- Some people are not fans of leaving the mixing blade in while the loaf bakes, feel free to remove it after the stirring cycle has completed. (be careful, the machine gets hot) I just leave the blade in and remove it after it has cooled — gluten-free breads can be sensitive and I don’t like to mess with them. Plus, there will still be a small hole in the bottom of the loaf where the blade attaches in the pan, so I don’t feel it’s worth the work. Totally up to you.
- You don’t have to bake the loaf in the breadmaker! You can remove it just before the bake cycle and shape it into your loaf pan of choice. My husband has his eye on a sriracha loaf, so we’ll be experimenting with that soon.
- My goal this week was to just get a feel for the breadmaker, the basics, and then we’ll go from there and who knows where we might end up! Please comment below if you have other tips to share with us. And if you make the bread, come back and tell me how it went!
- Remember that not all gluten-free flours behave the same. You want a wet dough, but not runny. If your dough batter is too runny, just add some more flour in, even after the cycle has started to mix. For the multigrain loaf, I knew it didn’t look right, so I ended up adding a bit more flour to the mix.
- If your breadmaker doesn’t have a gluten-free setting — that’s okay! There are a few options: you can check your owner’s manual – some machines will allow you to override the settings and reset them yourself to include a mix, rise, bake cycle. (no second rise is necessary) You can also use a “rapid” setting that some machines have. The bread is done when it has reached 190 degrees internally. If you take it out and it isn’t quite done, you can always put it into a 350 degree oven, no pan needed, to finish it off.
- There are endless possibilities for add-ins to this bread — garlic or chives, olives or cheese, play with the recipe and make it your own.
If you’re a jam girl like me, slather it on.
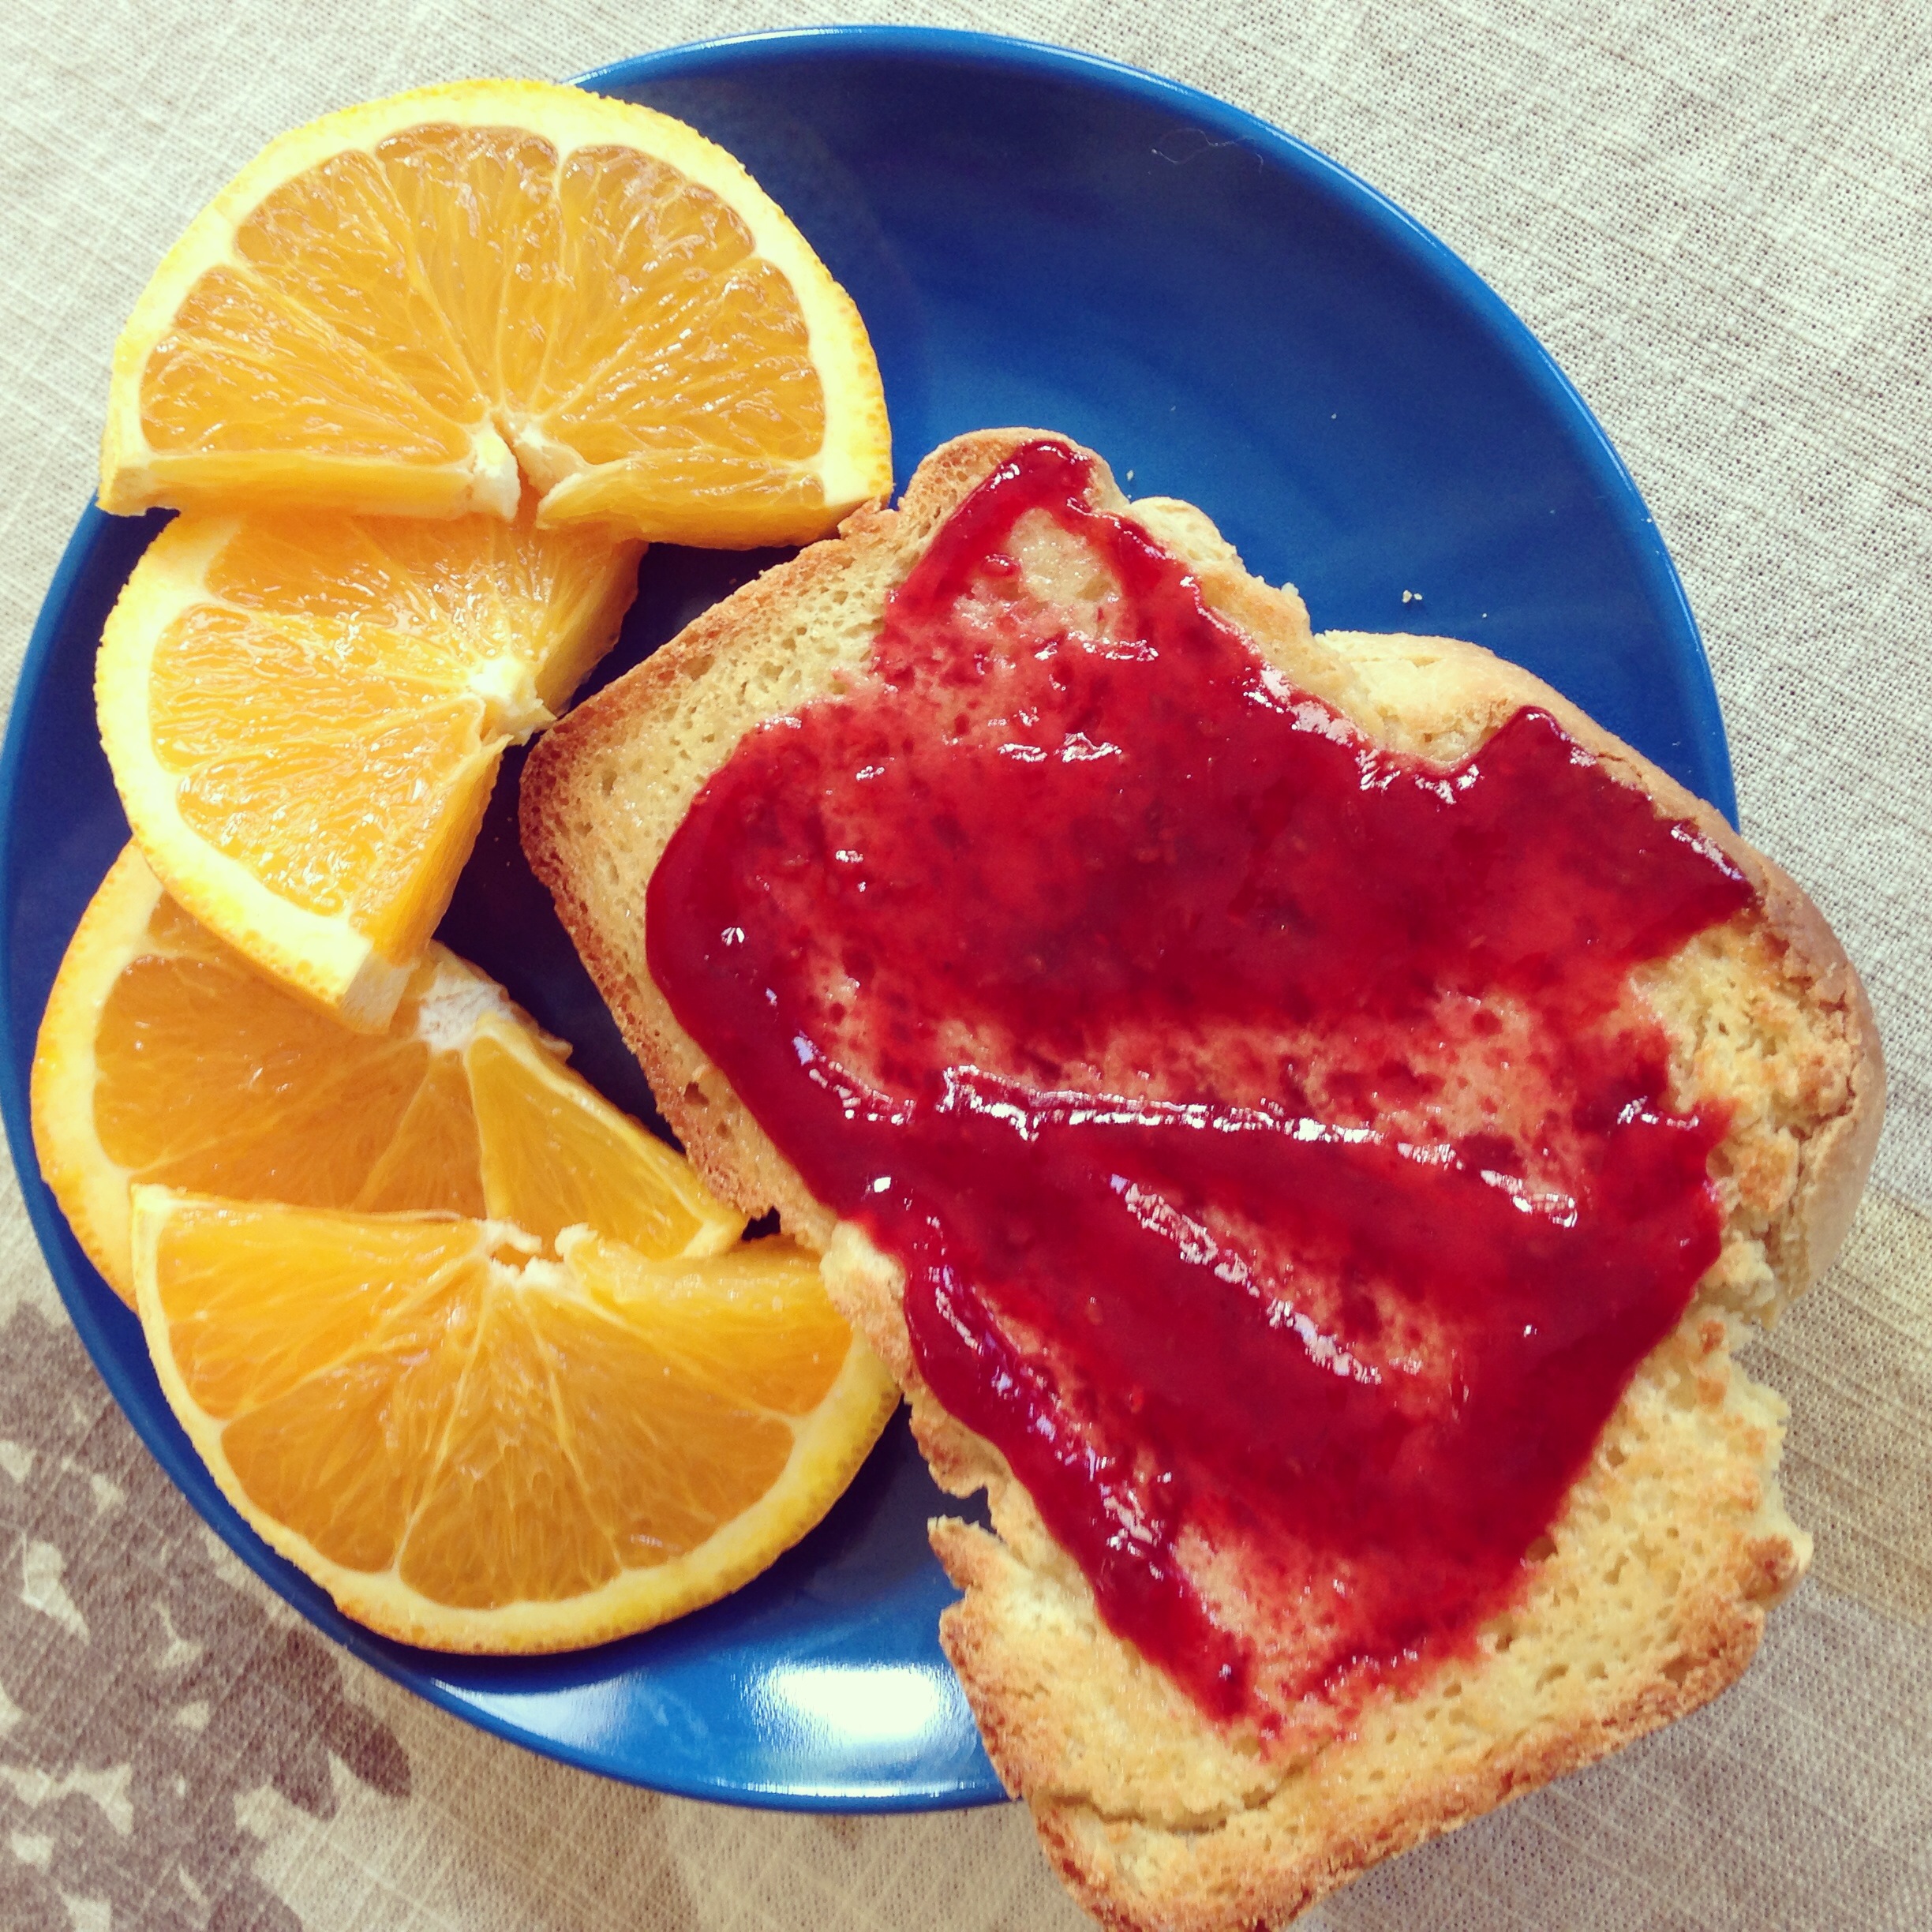
It’s perfect for sammies. (open or closed)


Or just eat it plain. Still a little warm. Fresh or toasted, you’re in for a treat!
I’ll be back with a “week in review” photos post later this weekend — I wouldn’t want you to miss out on the Easter photos — word has it, my mother-in-law is making lemon bars (yes!!!!!) gluten-free style, a new recipe using almond flour.
Have a JOYful weekend!
xoxo
